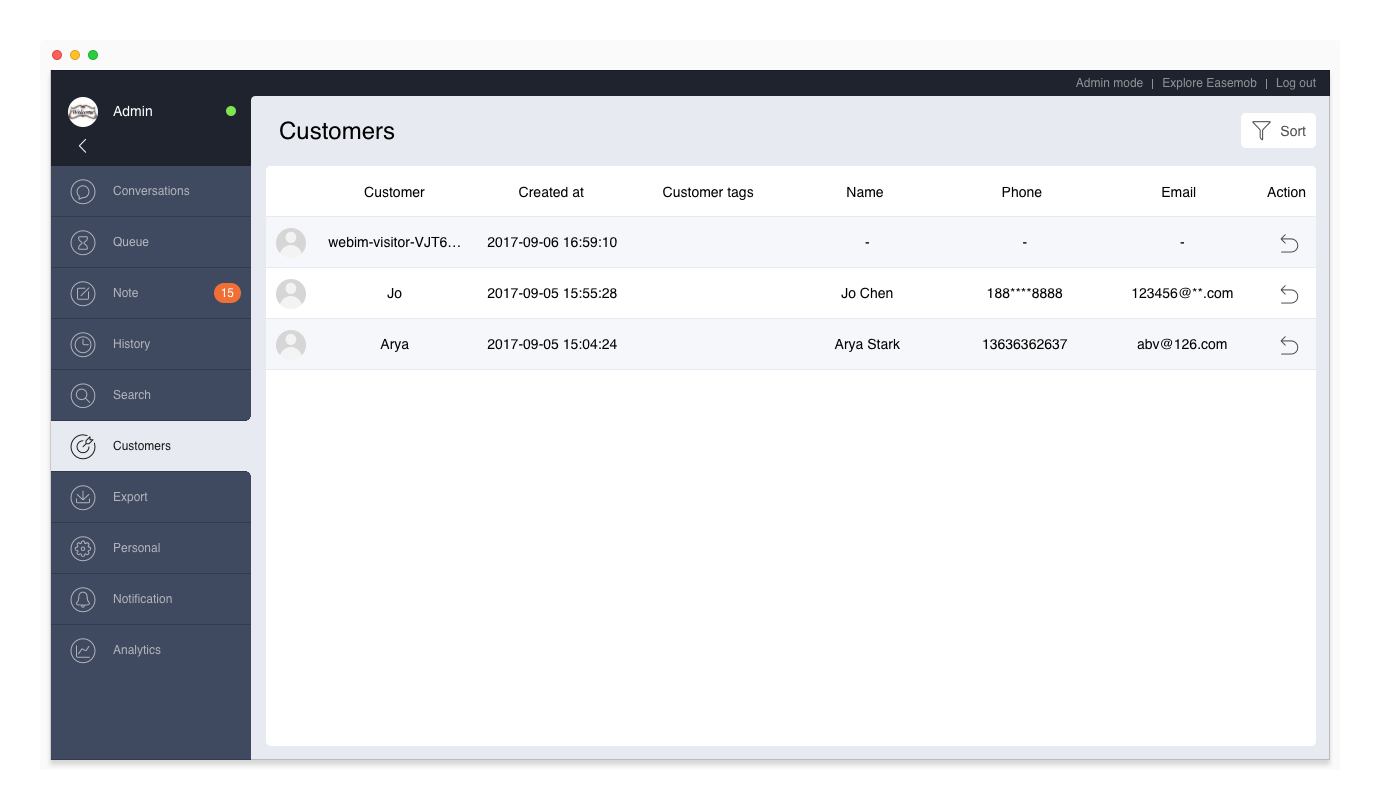
Customers
The Customers page shows all the customers who are served by the agent. The agent can view the customer profiles and manage the customers.
Enable Customers
The Customers page is unavailable by default. An admin must go to “Admin Mode > Settings > System Settings” and turn on the “Enable the Customers page in Agent Mode” feature.
When the feature is turned on, the Agent Mode displays the Customers page on the navigation pane.

Filter Customers
The Customers page displays the customers created within this week by default. The customers can be filtered based on the time period, customer tag, customer name, and customer IDs. Additionally, the customer name and customer ID support fuzzy query.
- On the Customers page, click Sort.
- Select the sorting options.
- Click Sort to view the filtered customers.
Edit Customer Profile
On the Customers page, click a customer to view the customer profile (nickname, real name, ID, phone, QQ, email, company, etc.).
The customer ID uniquely identifies the customer. It cannot be edited.
- If the customer is from app or web, the customer ID is a Hyphenate ID.
- If the customer is from WeChat, the customer ID is his openid on the WeChat official account.
- If the customer is from Weibo, the customer ID is his Weibo UUID.
Add Customer Tag
Go to the Customer Tags tab to add or modify the customer tags.
View Interaction
Go to the Interaction page to see the list of the customer's historical conversations and satisfaction ratings. Select a conversation to view the conversation details. For web customers, the customer's IP address, region, software environment, and source are also displayed.
If the agent has multiple conversations with the customer, the agent can view the messages consecutively.
The message interface displays the start time and end time of each conversation. Click “More Message History” or “Next Conversation” to view messages of the previous or subsequent conversation.
Callback
On the Customers page, click the Callback button  , or on the detail page, click Contact Customer to make a callback to the customer. After the callback, the system creates a new conversation.
Blacklist
On the profile tab, the agent can add the customer to the blacklist or remove the customer from the blacklist. The customers on the blacklist can still send messages, but the system does not create conversations for them. Blacklist customers cannot have conversations with agents until they are removed from the blacklist.
Add to Blacklist
To add a customer to the blacklist, select the customer, click the “Add to Blacklist” button on the “Profile” tab and fill in your reason.
Remove from Blacklist
To remove a customer from the blacklist, select the customer and click the “Remove from Blacklist” button on the “Profile” tab.